Balloon art is an exciting way to let your creativity shine. You don’t need to spend a fortune to get started. In fact, you can dive into this hobby for less than $20! Whether you’re making a balloon dog or a sword, it’s a perfect activity for a beginner. Plus, it’s a hit at parties, bringing smiles to everyone around. So grab some balloons, and let’s get twisting!
Key Takeaways
Begin balloon art with strong latex balloons. Pick flexible brands to prevent popping and make your art last longer.
Get a balloon pump to blow up balloons easily. It saves time and effort, so you can focus on making cool designs.
Learn simple twisting moves like the Lock Twist and Pinch Twist. These skills help you make fun shapes like balloon dogs and swords confidently.
Essential Tools and Materials for Balloon Art
Before starting balloon art, you need the right supplies. With just a few items, you can make anything from a balloon dog to a balloon arch. Let’s see what you’ll need to begin.
Picking the best balloons for beginners
Not all balloons work well for balloon art. Beginners should use strong latex balloons that are easy to twist. Choose brands known for being durable and flexible. Store-bought balloons might seem easy to get, but they often pop or lose shape quickly.
Here’s a simple guide to help you pick:
Aspect |
Details |
|---|---|
These balloons are fun and cheap, great for beginners. |
|
Latex Quality |
The latex is good but thin, making them light and floaty. |
Durability |
They’re strong for store brands but can’t handle rough use. |
Availability |
You can find them in most stores, making them easy to buy. |
Reliability |
They work well, but small bubbles or issues may lower durability. |
If you’re new, try a balloon animal starter kit. These kits usually have balloons, a pump, and instructions. They’re perfect for practicing without running out of supplies.
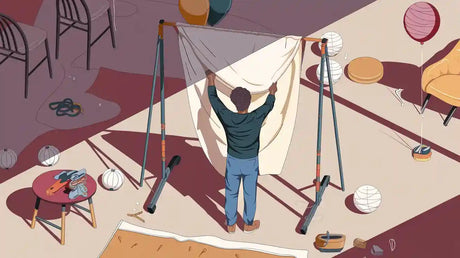
Why you need a balloon pump
Blowing up balloons by mouth is hard and tiring. A balloon pump is super helpful for balloon art. It saves time, energy, and keeps your balloons evenly filled. Even inflation is key for stable designs.
There are two types of pumps:
Hand pumps: These are cheap, small, and great for beginners. They’re easy to use for small projects like balloon animals or garlands.
Electric pumps: For big designs like balloon arches, electric pumps are amazing. They fill balloons fast and with little effort, perfect for parties or events.
Pro Tip: Inflate balloons slowly to avoid stretching the latex too much. This stops popping and helps your designs last longer.
Extra tools to improve your balloon art
Besides balloons and a pump, a few extra tools can make your art better. Here are some useful items:
Balloon decorating strip: Use this for balloon garlands or arches. It’s a plastic strip with holes to hold balloons in place.
Markers: Draw faces or details on your balloon animals. These are fun for kids’ parties.
Scissors: Use scissors to cut extra balloon ends or ribbon.
Ribbon or string: Tie balloons together or add decorations with these.
With these tools, you’re ready for any balloon art project. Whether it’s a simple balloon dog or a fancy design, having the right supplies makes it easier.
Step-by-Step Guide to Make Balloon Animals
Creating balloon animals is easier than you might think! With a little practice and the right techniques, you’ll be twisting balloons like a pro in no time. Let’s break it down step by step.
How to inflate and tie balloons correctly
Inflating and tying balloons might seem simple, but doing it the right way is crucial for making sturdy balloon animals. Follow these steps to get started:
Use a manual pump or an electric pump to inflate the balloon. If you’re using a #260 pencil balloon (the most common type for balloon animals), inflate it to about 10 inches.
Let out a small amount of air to soften the balloon. This makes it easier to twist and reduces the chance of popping.
Tie the end securely by wrapping it around two fingers, pulling it through the loop, and tightening it. A tight knot ensures the air stays inside.
Pro Tip: Always leave a small uninflated section at the end of the balloon. This gives the air room to move as you twist and prevents the balloon from bursting.
Basic twisting techniques for beginners
Mastering basic twisting techniques is the foundation of balloon art. Once you’ve got these down, you can create almost any design. Here are the essentials:
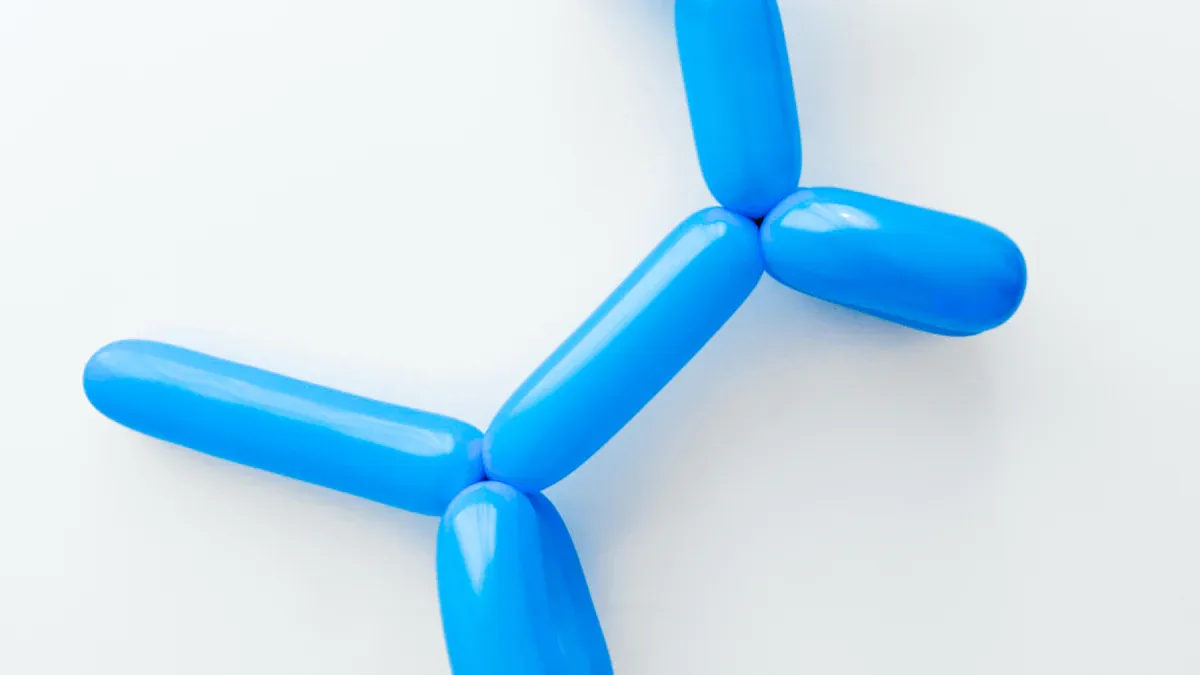
The Lock Twist: This is one of the most common twists. To do it, twist the balloon to create two bubbles, then fold them together and twist again to lock them in place.
The Pinch Twist: This technique creates small, rounded shapes like ears or noses. Twist a small bubble, pinch it, and twist it tightly to secure it.
The Fold Twist: Use this to make loops or petals. Fold the balloon into a loop, then twist the base to hold it in place.
If you’re just starting, video tutorials can be incredibly helpful. They show you exactly how to position your hands and twist the balloon. Printed guides and instructional aids are also great for practicing basic twisting techniques.
Creating simple shapes and designs
Now that you know how to inflate and twist balloons, it’s time to create some simple shapes! Start with these beginner-friendly designs:
Balloon Dog: This classic design is a great way to practice the basic balloon twist. Inflate the balloon, leaving about 4 inches uninflated. Twist three bubbles for the head and ears, then twist two more for the legs. Finish with a long bubble for the body and two more for the back legs.
Balloon Sword: Inflate the balloon almost fully, leaving just a small uninflated tip. Fold the balloon into a loop near the end and twist it to form the handle. The rest of the balloon becomes the blade.
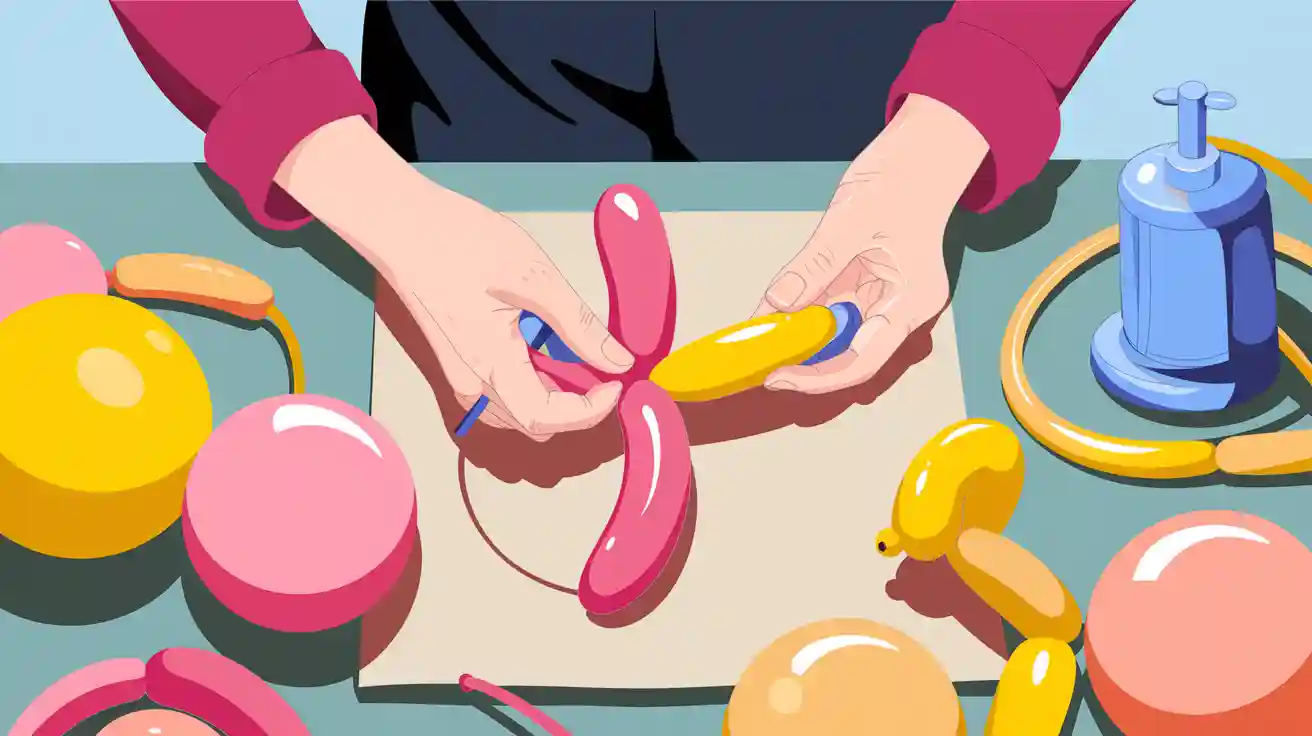
Balloon Flower: Create a series of small loops for the petals and twist them together. Add a long green balloon for the stem, and you’ve got a cheerful flower!
As you practice, you’ll get faster and more confident. Don’t worry if your first few attempts aren’t perfect—balloon art is all about having fun and experimenting.
Tip: Keep practicing the basic twisting techniques until they feel natural. Once you’ve mastered them, you can combine them to create more complex designs.
Beginner-Friendly Balloon Animals and Designs
Ready to create some fun balloon animals? Let’s start with a few beginner-friendly designs that will help you practice your twisting skills. These designs are simple, but they’ll impress your friends and family in no time!
How to make a balloon dog
The balloon dog is a classic and one of the easiest balloon animals to make. Follow these steps to create your very own dog balloon animal:
Inflate the balloon, leaving about a 3-inch tail at the end. This gives you room to twist without popping the balloon.
Make three basic twists to create four segments: the nose, two ears, and the neck.
Twist the ear segments together to lock them in place.
Create three more twists to form the neck and two front legs.
Twist the leg segments together to secure them.
Move down the balloon and make three more twists for the body and two back legs.
Twist the back legs together to finish your balloon dog.
Tip: Practice twisting gently to avoid popping the balloon. The more you practice, the faster you’ll get at making dog balloon animals!
How to make a balloon sword
Want to feel like a pirate or a knight? A balloon sword is a quick and easy design that’s perfect for beginners. Here’s how:
Inflate the balloon almost fully, leaving just a small tip uninflated.
Fold the balloon into a loop near the end to create the handle.
Twist the loop tightly to secure it.
The remaining length of the balloon becomes the blade.
That’s it! You now have a balloon sword ready for battle.
Other easy designs to try: Flowers and hats
If you’re looking for more creative ideas, try making balloon flowers or hats. These designs are simple but add a fun twist to your balloon art skills.
Balloon Flowers: Twist several small loops to form petals. Use a green balloon for the stem, and you’ve got a cheerful flower to brighten anyone’s day.
Balloon Hats: Inflate a balloon and twist it into a circle that fits snugly around your head. Add loops or twists for decoration, and you’ve got a fun party hat!
Pro Tip: Experiment with different colors and shapes to make your designs unique. You can even combine designs, like adding a flower to a hat for extra flair.
With these easy balloon animals and designs, you’ll be ready to entertain at parties or just have fun practicing your skills. Keep twisting, and don’t be afraid to try new shapes like a balloon giraffe or even a balloon dinosaur!
Balloon art is all about creativity and practice. With the right tools, like durable balloons and a handy pump, you’ve got everything you need to start. Mastering basic twists and simple designs, like dogs and swords, builds your confidence.
Tip: Keep practicing! Each twist gets you closer to creating amazing designs. Who knows? You might even tackle a balloon giraffe next! 🎈
FAQ
How can I get better at making balloon animals?
Begin with easy shapes like a dog or sword. Watch videos online and practice twisting every day. Regular practice helps you get better quickly.
How can I keep balloons from popping when twisting?
Don’t fill the balloon all the way. Leave some space uninflated at the end. Twist softly and keep sharp things away. Softer balloons are simpler to handle.
Can children learn balloon art?
Yes, they can! Kids can enjoy balloon art with adult help. Start with basic designs and use a hand pump to blow up balloons. It’s a fun and creative hobby!